Wanna-Be Working Roman Shades {DIY}

I am eagerly waiting the arrival of our window coverings. We decided to have blinds professionally ordered (we went with the company Rockwood Shutters + Blinds, who is available through Home Depot, everything is made in the USA and I think it is a woman owned business...) the only "problem" is that everything is measured and cut to fit exactly into every window, so it's taken a little time. We toyed with getting shutters, but in the end, I'm just way to cheap...I don't think I will regret my decision, but it was hard to pick window coverings. 

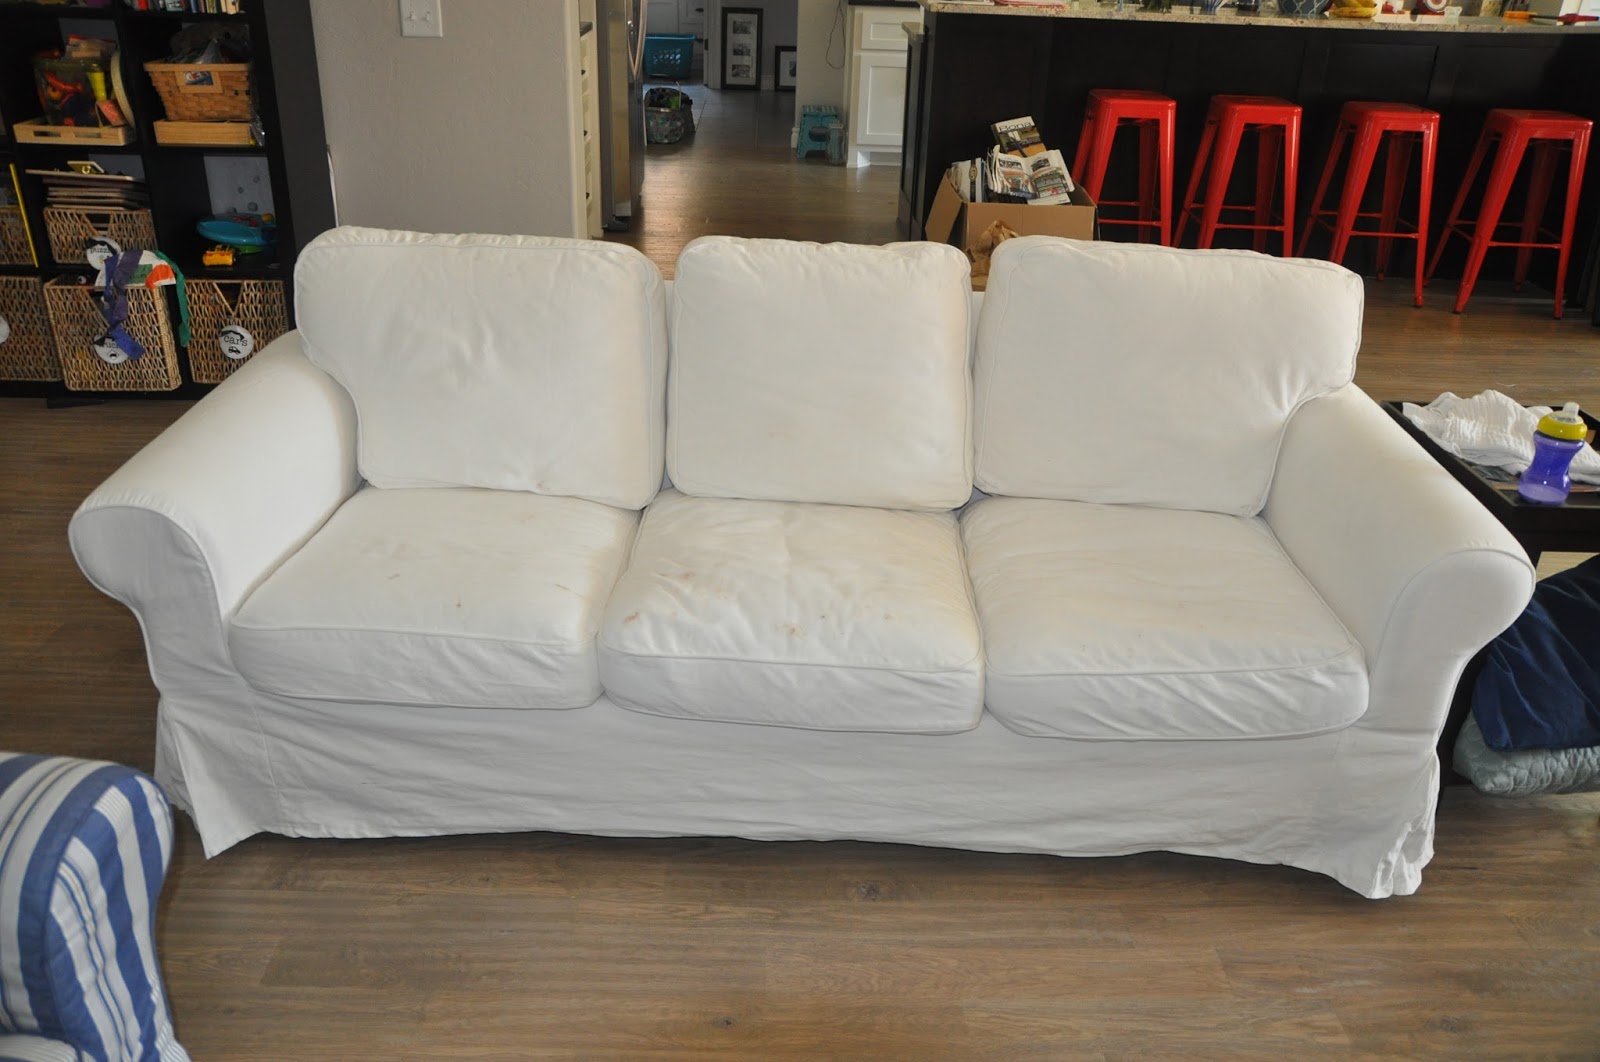
Because we had all of the bedrooms and main living spaces taken care of, there are very few windows that require attention...and those are in the bathrooms. 

I decided after seeing a few pins {thisthis, this, and this} that I was going to attempt to make my own roman shades, that actually work!! It only cost about $10-$12  (include the trim) it was a relatively quick project, although I really didn't have any clue about what I was doing, I think they came out pretty nicely! 


To start with I purchased the cheapest vinyl blinds I could find from Walmart (about $3) and I measured my window opening, only needing about 1.5 yards of fabric, which I purchased from Hobby Lobby for about $6 (navy blue Canvas Duck fabric)

I created a rectangle, about 2" larger on all sides than the window opening. 

I folded over the edges, and sewed them all down. Leaving me with this: 


I prepared the vinyl blinds by removing the vinyl slats, but keeping ALL of the string. I used the instructions from Little Green Notebook on how to do this step. 

Once I removed all of the vinyl slats, I used the remainder of my blinds as a template, and marked little white chalk marks everywhere I needed to place a ring (about every 10")


Then I sewed on the little plastic rings (I also got at Walmart for maybe $2?) That took the longest time, maybe an hour or so. I used clear string that I had on hand, sewing through each plastic loop ring about 5 times. 

Then I hot glued the fabric to the front of the vinyl blinds mounting bar...just across the front, careful to not get any glue on the strings. I left about 1" of fabric above the mounting bar.

But....then I hung up the curtain and it looks like THIS when I pulled the string: 


{almost a craft fail???}

There was just not enough heft to neatly lift all of that fabric without looking like a ratty mess.

Back to the drawing board...

I decided to glue pieces of the vinyl blind to the back of the canvas using my hot glue gun.

I just lined up the vinyl blind on UNDER the strings of the blind that were through the loops. It looked like this:


By adding the vinyl slats, it gave the fabric enough support to look like THIS when I pulled on the string:

{ahhh, much better!}

I decided to add some orange polka dot ribbon, hot glued on, of course....


This is how it looks when the string is pulled:


Not too bad for just a few bucks, right?!


 I will add that we have extremely high ceilings and tall windows. I did hang the mounting bracket (that came with the blinds) on the wall about 6-10" above the top of the window (I think?) and I've had it up for a few weeks, everything seems to be holding just fine.

I don't know if the glue would hold if I was opening and closing this blind every day, multiple times a day. I'd be curious if anyone tries this, what you find....


Facebook Comments Plugin Bloggerized by BloggerTricks.Biz

How to Mount a Flat Screen TV on a STONE fireplace {diy}


When we moved into our new house, it was apparent that we were going to have a little challenge on our hands trying to mount our TV...well if we had a TV. We sold our previous TV with our old house...so first we had a buy a TV. After weeks of searching, and watching TV on a tiny 18" screen, we finally purchased a TV as well as {this} mount, and additional HDMI cables (we went with 15' cables, but they were very long!!) 

This project took my husband the better part of the day. I can take ZERO credit for this project...I actually even was in bed taking a nap while he was installing the TV. {He's awesome, btw!}

Here is how we did it: 

*Background: Our home is new construction. We knew the stone is a facade, about 1/2-1" thick, and is hollow behind the drywall. We actually took off the electric plates and used a flashlight to see what we were dealing with inside...just the exhaust for the electric fireplace. Niiiice. 

*Electric was already set up, the cable hook up was there, but it did not connect to the wall jack in the cabinet, {there were two existing cable jacks but they were not connected to each other} so we ended up not using the cable line on the front of the fireplace, since there is one that directly connects to the cable just a few feet away in the cabinet...

*We borrowed an awesome stud finder from our neighbors, huge, huge lifesaver! Once we determined where the studs were located, we actually DREW directly on the stone the rectangle where the studs are located, where the rock/drywall needed to be cut out. 


We started with the TV on the cabinet, but I like the symmetry of having the TV mounted. I especially like that the kids can't touch it. If you are considering mounting a TV, keep in mind the height of the TV if you are hanging it above a mantel. Our mantel is high, so our TV is mounted extremely high: makes for terrible ergonomics. I mostly watch TV laying down on the sofa, so it's not a huge deal, but it does stink to have your neck craned back trying to watch a movie. 

Another potential issue is hiding wires. We hid all of the TV and cable wires (and HDMI for the play station) but we purchased a Bose sound system that has wires...we would have had to cut an additional opening through the stone/drywall right above the mantel to install a special face plate just for those wires. At some point, we plan on doing something else to hide those wires, or mask them...right now, I can live with them...


This was an extremely messy/dusty disaster. Our shop vac was just blowing around the very fine dust all over the place. My husband was working alone, I was out of the house...and when I came home there was dust on EVERY SURFACE (the negative side of an open floor plan) so definitely cover furniture, tape off/close doors, etc. Be ready to clean when you're done.


Once the openings have been made, it's much easier to see inside the wall to feed the wires through the two face plates (behind the TV, we actually did remove the plate because you can't see back there, and the wires make the plate not sit evenly, so it's just better without the plate...) 

To actually feed the wires from the front of the fireplace through the inside and out the side, we used a semi-rigid wire...to be exact we used the poles from our dryer vent cleaning system (the Lint Eater) rubber banding the HDMI + power wires to the lint eater, my husband pushed the wires from the front of the fireplace, and I helped to direct them to the side opening, feeding the wires through the A/V face plate (as seen below) then screwing the face plate into the wall. {I think this is the face plate we did purchase for the side of the fireplace.


Once the wires were properly fed through the opening (check with your mount to make sure it will fit around the wires) the next step is actually installing the mount. 

As you can see in the photo above, my husband cut the stone wide enough to fit a piece of 2x4 wood, long enough for the bracket we purchased. He screwed the 2x4 directly into the stud + followed the mount instructions to attach the TV mount onto the wall. Here is the very up close side view of the back of the mount. 


And just for the fun of it, here are a bunch of terrible pictures of the mounted TV...terrible lighting, odd glare, what was on the TV?! 


We are going to buy a Radio Frequency Remote (the one we have isn't compatible with the Bose) that will work with the cable box inside of the cabinet (you can see the open door of the built-in on the right of fireplace.) And then we'll have to figure out how to hide those exposed wires...I might crochet some yarn over them...too artsy?

Have you ever done a project like this?


Facebook Comments Plugin Bloggerized by BloggerTricks.Biz

Military Coin Display {Simple DIY}

{Sorry for these pictures, we have no blinds still and the glare is terrible!}


I am extremely proud of my husband for his service to our country. Like his father, and grandfathers, my husband follows a strong family tradition of service. My husband joined the military beginning at West Point for his education and then continued to serve both at Ft. Carson (ultimately in Iraq) and at The Old Guard at Arlington Cemetery/Ft. Myer, VA. After four years of college, 5 years of active duty military service, and a lifetime as an Army Brat, my husband made the extremely difficult decision to leave the military. 

A long discussion for another day, but transitioning from the military was an extremely scary {for me} period of our married life. I really thought he would make a career of the military, and was proud of him for making this decision for our family...anyway, if you know anyone in the military, you know there is a lot of stuff that goes along with it, not just gear, but other stuff. Memorabilia. Coins, pins, unit crests, colors, mugs, glasses, t-shirts, etc. This was a huge part of our life, and I kind of had the feeling that we'd lived it, I didn't need any of it in my face, reminding me of the hard times, being apart, deployment, war. But now that I've had a little space + time, I thought it might be nice to finally bring a little bit of it into our life. 

While my husband was at work last week, I decided to pull out a shadow box frame that I had purchased at TJMaxx about 4 years ago...it's moved at least 3 times now. I pulled out the coins + memorabilia that he had jammed into a catchall wooden box on his dresser...I found pictures from when he was in the military, and using my trusty glue gun, I glued everything into the shadowbox. 

My husband was extremely happy to come home to find the display. I also framed an American flag that had been his father's, and framed the flag {the flag was not a standard frame size, so I purchased a larger frame, using the backing from the frame to cut a piece of burlap to size. I ironed the burlap, and then used spray glue to attach the burlap to the white side of the decorative insert in the frame. The flag has two small safety pins attached from when my father in law carried it on his ruck sack, so I used the pins to attach the flag to the burlap.} 

If you notice in the photo below, the frame originally had two pictures, with a display in the center....


After my husband helped me put the kids to bed, he told me how happy he was that I had decided to finally frame the flag + his coins...but...."he wished I had included his 'good coins'." {womp-wah} GOOD COINS? During the move, he had taken all of his really important coins and hid them just in case. I didn't realize that...and he hadn't pulled them out yet. Oops.

That night I tried to add all of the special coins, but it ended up entirely too cluttered. {double womp-wah!}

So the next morning, I used some scrap pieces of cardboard (probably the inside of packaging from something I'd bought?) and trimmed it to fit inside the frames, times three...one for each opening. I covered the cardboard with burlap (first ironing, then using spray glue to attach it to the cardboard.) I glued down the picture of my father in law pinning my husband's ranger tab...and then I carefully removed all of the glue from the coins and re-glued them down on the two displays. Now he has ALL of the coins and memorabilia in one place.

There are so many memories in that shadowbox. And while there were some challenging times, there are also some really great times and memories. We also have the coin that commemorates the Fallen Soldiers from his Iraq deployment...gone but never forgotten.

How do you display important memorabilia?

UPDATE: 

I received this update in an email from my mom, who has minimal internet saavy... a nice note worth sharing: 


"I display my memories in different ways. First and foremost, I make an indelible memory in my heart.

 I recall very clearly, the day Jim pinned the ranger tab on Chris. It was a poignant, proud moment. I cried. (Crying really makes it indelible!) Jim was so proud of Chris. Chris was so touched and proud to have earned his Dad's tab. It was a great moment, and I'm glad you put that picture in your display. 

I'm so proud that you are able to embrace the military part of your lives. It helped ( for better or worse) to define you, just as all the other experiences you have. You made a good display!

Love, mom"


Facebook Comments Plugin Bloggerized by BloggerTricks.Biz

Quick Bathroom Update: Knobs as Hooks {DIY}


One of the reasons I wasn't so keen on moving into a new construction home was that we would have the pressure of figuring out what the house needs...like good towel storage. Not a huge issue, but I am so worried about "hurting" the house. It seems like almost every picture I hang requires at least two tries...eek. 

One of the most obvious issues is the need to have a place for towels to dry. After careful measuring, I drilled three holes into the back of the door {scary!} and screwed these knobs right in. EASY! 

{before I was just hanging the towels off the back of the shower door...}


I found the coolest knobs at Hobby Lobby for 50% off: 


The only issue I've found is that some of the other knobs I purchased do not have the back part next to the door...so I have to trim down the back of the threads so the knobs don't go all the way THROUGH the door!
Facebook Comments Plugin Bloggerized by BloggerTricks.Biz

Easy Bag Update {DIY}


I recently purchased this blank tote bag from Joss + Main, and decided I wanted to add a monogram. There are numerous ways to add a monogram, but I decided to go with the easy method: iron on transfer cut with the Silhouette machine. 

The trickiest part is choosing the right font/design and remembering to flip the letters before cutting. 

Once the design is cut, it is necessary to peel the excess transfer material from the backing. It's oddly satisfying...like peeling dead skin after a sunburn {yuck. did I just admit that?}

After carefully placing the transfer onto the bag, I just followed the directions: medium iron, with a press towel: 


It is possible to see the design through the towel:


And here are the two bags I dressed up with monograms today: 

bag: last year from Target, font: champagne and limousines + kg flavor and frames

bag: Joss + Main, font: Adobe Ming Std L + bergamot ornaments

Just what I like: a quick and easy project! 
Facebook Comments Plugin Bloggerized by BloggerTricks.Biz

Random things

It looks like SUMMER is finally here. This heat is impressive. I forgot what it feels like to be lingering around 100 degrees. 

My little guy is ready: 


For those of you (east coasters) who are unfamiliar with what a storm shelter looks like: this is ours. 

 There is a small pin towards the front that opens the lid...it slides back and there are steps inside. I don't have any pictures of the interior.

But I do have a picture of the interior of our house...I finally got a new rug. I like it. It was REALLY inexpensive. It will definitely do for now, while the kids are young + the dog prefers soiling carpet...


And that's all I've got for now...what's happening with you?

Facebook Comments Plugin Bloggerized by BloggerTricks.Biz

For Tess {Baby Gifts}

One of my longtime college friends/former roommates, gave birth last month right before our household goods were packed up. I was hoping to sew something special, but my machine was in storage. My general rule for packing/unpacking, is that I cannot sew until we are completely unpacked. This move everything seemed to come together fairly quickly. I'm happy to report that I have three, yes: three, sewing machines set up!

So, for baby Tess, I whipped up a few special things: 


{Personalized, of course!!}


Two personalized burp cloths--representing both parents (London/NY)

A store bought bib, that I personalized:

But I bib just wasn't enough, so I also used iron on transfer on two shirts:

I rolled everything up, the purple underneath is the stroller blanket wrapped in tissue paper:

Of course a little hand stamped tag topped it off:


Facebook Comments Plugin Bloggerized by BloggerTricks.Biz

What's happening...

HEYA! So I have been back on my "try to do something creative every day" kick, and it's been so nice. I feel so much happier with life when I am able to be creative. Even if it's a small project...seriously, today I used some fancy knobs I purchased at Hobby Lobby to screw into the back of the bathroom door as hooks. It. felt. so. good! I'm back! 

In other news: 

I decided to put the white slipcover back on my sofa just to brighten up the room. Putting the slipcover on is a total pain in the butt, plus it looks like it needs to be ironed...and it looks like my dog needs to get his butt off my couch. He is disgusting. In under a week, the smudges, dirt, dog hair (on an almost bald dog) and drool are just unbelievable. I plan on washing the slipcovers again THIS WEEK. Womp wah! 


In the meantime, I'm going for the fancy quilt covered sofa look. Because I'm lazy like that. 

And that box of trash by the island has been there since we moved in. I need to get rid of that g.d. box! 


Last week I figured out how to make a roman shade...that works...I think it looks pretty decent, but I'm thinking I am going to add some trim to dress it up a little.

Not bad for about $10, right?!

 My family became "members" at the local zoo. I'm sort of amazed by the animals and entirely grossed out by them. I think this elephant may have some psychological issues, because he just sways back + forth. But it was super hot the last time we went, he was spraying himself with water (notice the splashes to the right of his head?) It was cool.

My little guy is only partially entertained by the animals. Here he was more amazed about bumping hat bills with his Daddy...how cute!?

And let me tell you, I am completely grossed out by rhinos. They want to be cool, but then they have all this bodily function happening around them, and I just can't get past it.

I have more to share, but for now that will do. I found a new grocery store tonight that had awesome sushi and amazing pre-made food, PLUS cannolis.  I love this place.
Facebook Comments Plugin Bloggerized by BloggerTricks.Biz

PS

I sat down outside with the boys waiting to start cooking dinner, and look what I found:


This makes me crazy!!! 

Do things like this happen in your house?!
Facebook Comments Plugin Bloggerized by BloggerTricks.Biz

What I'm Up To

As I mentioned yesterday, my days seem oddly all over the place. 

So here is a brief take on my day today:

I spent a large part of my day searching for a vacuum attachment that my little one had yesterday. It's still missing!

I cleaned. 

I put up pictures. 

I sewed. 

I made pizza dough with Callum. 

I vacuumed. 

We are still waiting for window coverings. I think they should arrive in about two more weeks! In the meantime, our neighbors are getting full view, except for the two bedrooms with "fort kit curtains." I'm amazed how long the suction cups have held!


I'm slowly hanging pictures that have been sitting in piles. Slow progress:


The laundry room is coming along:

As usual my desk is a mess, with huge piles. But today, I made three framed burlap pin boards for about $20. 


The three pin boards are $5 frames from Walmart. I spray painted them navy blue. Then I used 2 pieces of foam board from the Dollar Tree, trimmed down to fit the glass opening. I covered each piece with blue burlap from Hobby Lobby, spraying the foam core with spray adhesive to help hold it down. I fit the burlap covered foam core into the picture frame opening, using the existing closures to hold the pin board in. Easy!

I also feel like the boy's bathroom is just about done...and freshly cleaned!


I changed out the artwork of the boys manscaping. It used to be a pic of Callum holding Cole for the first time. 

I also drilled hangers onto this rickety old frame...I've had it a really long time and it is so beat up. I keep on using it though. In a previous life it was in our bathroom, now it's holding artwork in our hallway. 


I think I need to tighten the lowest string. Maybe tomorrow. 

Oh, and I washed my hair. And then dried and straightened it. It is an insane mop. I need a haircut! It took way too long. 


Sorry for the strange selfie. 

So that's what's happening in my house. 
Facebook Comments Plugin Bloggerized by BloggerTricks.Biz
Blogging tips