Showing posts with label baby gift. Show all posts

Crossfit Baby {Custom Order Baby Gift}

I love using my creativity. One of my favorite ways to be creative is to make baby gifts. 

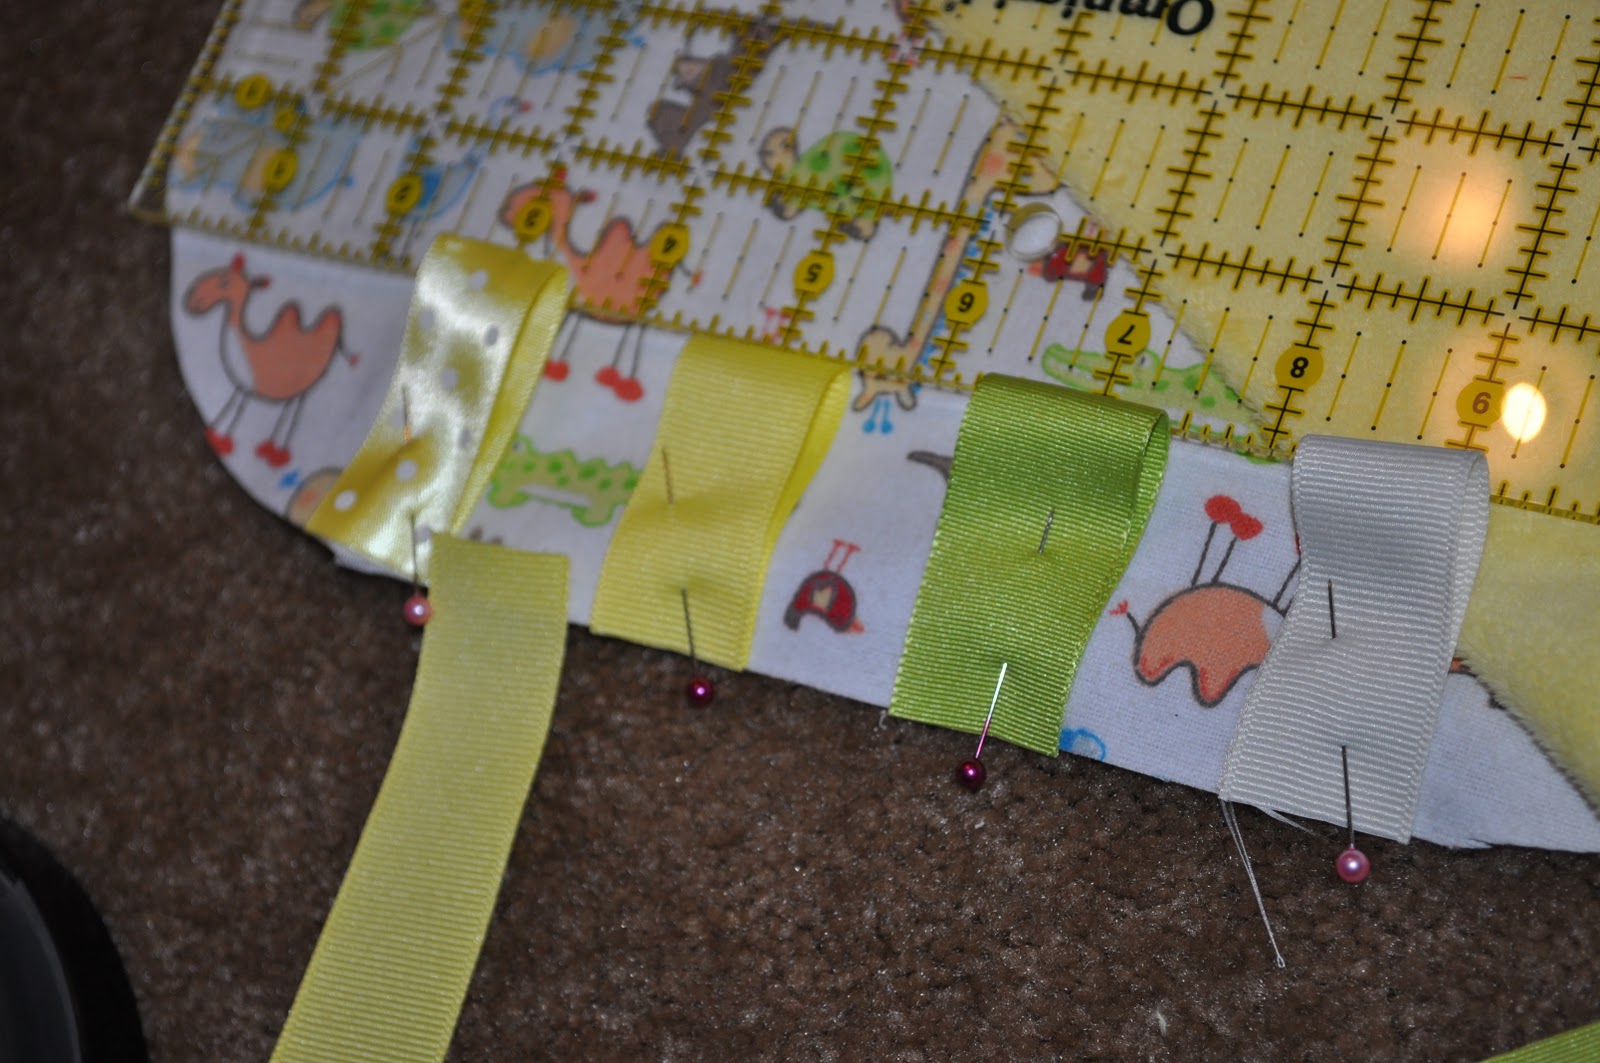
For this particular project, one of my college besties asked me to make a special gift for a friend from her Crossfit gym. She wanted something that could be used in the baby's room and a few things for the baby to wear...after conferring about possible ideas, I ended up making a fabric basket (using the pattern from Noodlehead--seriously, it's a fantastic pattern!) as well as a few other things: 


A mustache stroller blanket: 


This adorable felt kettlebell teether:
 (to construct sew a six section ball and a handle-two "C" shapes sewn together on the long sides, then turned inside out, and stuffed with fiberfill sew three of the ball sections together at a time, and before sewing the ball closed, put the handle inside ball, and sew, leaving a small section to flip the ball through and hand stitch the opening closed.)


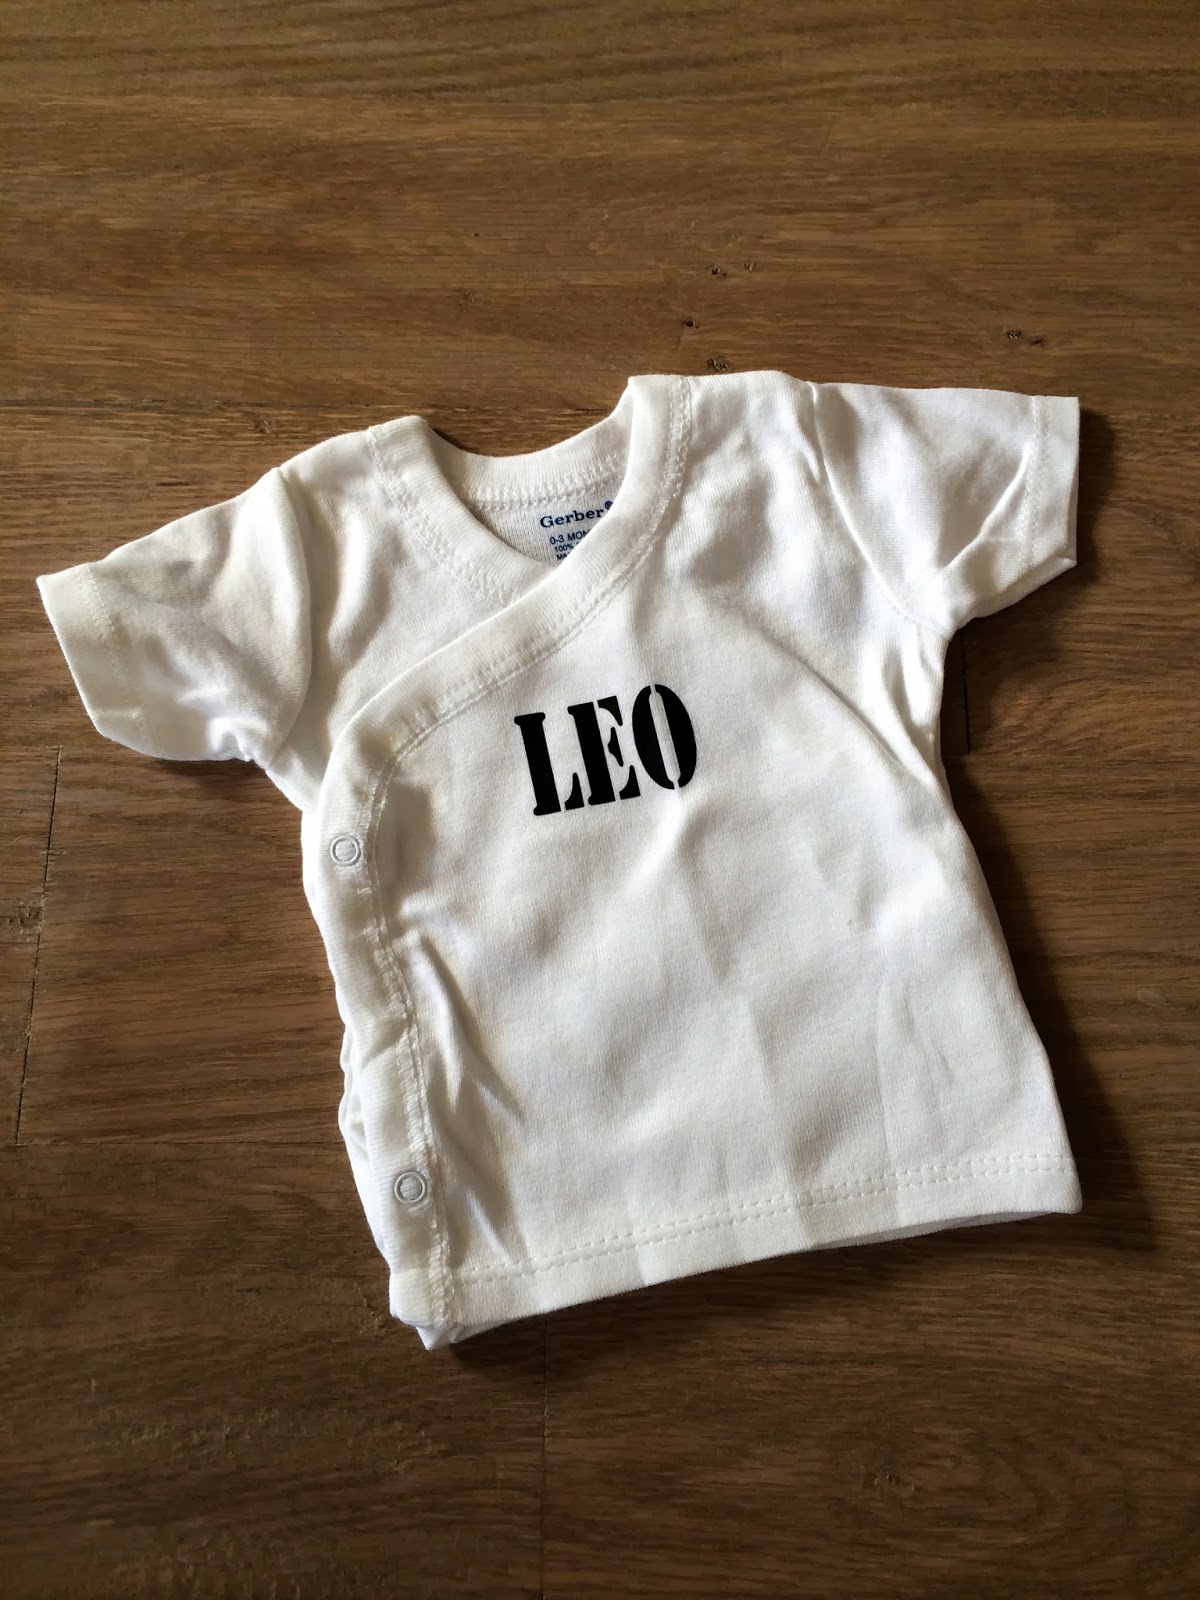
Plus a bib and some onesies with some Crossfit phrases:


And this one is actually the coach/owner of the gym lifting!! {Cool, huh?}


Pretty neat seeing the original image next to the outlined/traced image!!


 If you are looking for a unique baby gift, I enjoy working on custom projects. Send me an email {daniellebartran AT gmail.com} and I can help you create something special!


Facebook Comments Plugin Bloggerized by BloggerTricks.Biz

Stroller blanket {baby gift}

In the middle of getting ready for Christmas, making a gift for my husband's boss's baby, making a large wedding quilt, and a teacher gift, I threw together what I think might be my all time favorite baby girl stroller blanket. I love a little girl in navy blue!!

Facebook Comments Plugin Bloggerized by BloggerTricks.Biz

Quick + Easy Newborn Baby Gift

Right as we were about to move, one of my friends gave birth to a baby girl a few weeks early. Having limited resources, I whipped up a quick personalized onesie, with cute ruffled pants: 
The lettering was made with iron-on transfer cut with my Silhouette machine. I think the shirt is from a previous season at Target. A-D-O-R-A-B-L-E or what?
Facebook Comments Plugin Bloggerized by BloggerTricks.Biz

Quick + Easy Baby Gift {Silhouette Iron On}

One of my favorite go to gifts for a new baby is a simple personalized onesie. I usually do this either with iron on vinyl or paint, but always using my silhouette machine...either directly cutting the iron on vinyl or cutting a stencil out of freezer paper and using fabric paint directly on the onesie.


This is an organic onesie from Walmart, and I included a matching pair of pants. The lime green iron on was cut with the font American Typewriter.

Cute, right? It's hard to imagine this only takes a few minutes to make!
Facebook Comments Plugin Bloggerized by BloggerTricks.Biz

I've been KNITTING again....

I shared with you not too long ago the adorable little sweater that I knit for #2. But the little sweater just wasn't enough. I decided to make some knit pants to match. I had the hardest time finding a pattern with the same gauge and look, so I had to tweak a pattern from Tiny Birds.  (Please leave a comment if you are wanting to know my tweaks.)

My thought is, they look HUGE, but hopefully with cloth diapers they'll be perfect!


How cute?! Right??
Facebook Comments Plugin Bloggerized by BloggerTricks.Biz

More Baby Gifts

{just a note regarding my previous post: the cleaning lady has lost some steam, it looks like a shower might not happen until tomorrow or until cleaning is done.}

BUT, on another note: here are some adorable baby gifts I made for a friend who was attending a baby shower this past weekend. She called me with some trepidation in her voice, asking if there was any chance I might be able to do some sewing. Luckily, I didn't have much else going on, and my amazing husband was able to provide childcare while I plugged away in my sewing room.

My friend was looking for something neutral but for a girl. I in turn sent her the following pictures (including a fleece blanket that I made a while back):


She ultimately decided on the last photo, girly but not overly. I added a few splashes of pink because, why not?! 


So here are the goods:
Two onesies (0-3month & 3-6 month), 2 pairs of shoes (2 sizes), lovie, changing pad, and adorable owl teether! Could that be any cuter??!
Here is my version of the owl teether. I had seen this adorable little love a while back but Handmade by Jill reminded me of the amazing little owl pattern found at the Rubber Punkin and decided this was too cute NOT to make! I did try to make it crinkly, using the plastic on a little mini thing of tissues, just to add a little extra...

Now I'm going to admit that I did this, I don't know if I would recommend trying it, but here goes: I used my Silhouette machine to cut fabric. {I saw the following day that they are actually selling a product that allows you to cut fabric-YAY! Unfortunately it's only $7.99 and when I went to order it the shipping cost almost as much as the product-boo-so I decided to wait to order until I needed more things.} I applied the adhesive (Wonder Under kind, the name is escaping me this minute) but that you don't have to sew over...then I cut the "C" it worked no problem.


Then I used it to cut the following: 
 It did not go nearly as smoothly as I had hoped (boo!) BUT ultimately did work, I probably could/would attempt to space the letters out. I also tried with Freezer Paper on top of the fabric, which worked okay, it just seemed some letters wanted to cut a little easier than others...ultimately it DID work, although it took some time. Then it was just ironed on. 

I made a 0-3 onesie with ruffles around the front. HOW CUTE?!

I also made a lovie (12"x12") using the contrasting fabrics.

I made this folding changing pad.
 I thought this was pretty amazing, being that I myself never have what I need when a diaper change happens out in public...the changing pad folds up fairly small, and has elastic in the strap to hold a few diapers/wipes. It's any mother's dream! I used the tutorial from Small Fry & Co. So easy & any mother's must have! Oh, I did add Iron On Vinyl to the "baby" side in case any "surprises" end up on the fabric, they'll be very easy to wipe away!

Booties: I've made a million pairs. They are seriously THE BEST, and by some miracle they actually STAY ON. They really are amazing. You can get the pattern at here. I made a little pink fabric flower to go on each shoe, they are pinned on, so they can be reused again & again.

I mailed everything out last Wednesday & she received it Saturday, just in time for the shower. She said it was a hit. Which makes me happy!
Facebook Comments Plugin Bloggerized by BloggerTricks.Biz

Just when you thought I was done with baby gifts

Okay, I'll admit, my love of tiny little baby things is endless. I promise tomorrow I will not mention a baby item!

I was recently asked by my dear friend Nicole for some advice for a baby shower gift, she and I went back and forth a little bit, but ultimately I remembered these amazing burp cloths that she had lent me when my son was a baby. Now, I'm not giving her NEARLY enough credit. My son wears a hand-me-down at least every day (usually the entire outfit, I wont lie!) that was once worn by Nicole's two sons. I love the sharing. So does my wallet. And I've since been able to lend the clothing stash to friends & my sister in law for their sons!

SO, I decided to make a couple burp cloths and special items for Nicole's shower gift.

Her friend has a jungle/safari theme, and as soon as I saw this fabric I fell in love!
I made three burp cloths, and a special "lovie" with ribbon "tags"

Nicole's friend is a yoga instructor, so here's hoping for a very zen baby. 

Using my favorite (freezer paper) I printed namaste onto the freezer paper (Century Gothic font, I believe) I very carefully cut out all the letters, being certain to keep the middles of the A & E. I ironed on the freezer paper carefully, and then used puff paint (just like when I was little) to paint in the letters. So easy. Be certain to put something in between the layers of the shirt, because this would have DEFINITELY bled through. Be very careful when removing the freezer paper. So EASY! 

I also made this matching Lovie, I decided to use ribbon as "tags" because kids just LOVE the tags. 
 Here is how you can make one yourself:

1) Pick two fabrics that you love.
 2) Layer fabrics with right sides together. Cut down into a square. Mine was 12 1/2" (only because my ruler is 12 1/2" square...
3) For rounded edges (optional) use a round object to carefully trim away corners. I used a spool of CDs. If you have a washable marker, you could trace and trim using scissors, which would probably be easier.


4) Once all your corners are trimmed (or not) select ribbons for your lovie. I use an old metal hangar which is possibly the WORST ribbon storage option, and also a box that is just exploding with ribbon...ugh. You'll want to have 12 (if you want 4 on each side) 4" ribbon pieces, so I used a variety that went well with the animals on the front.
 5) Using your ruler (or just eyeball it) pin each ribbon (folded in half) with the raw edge of the ribbon along the raw edge of your fabric.

This is to show you that I ultimately used a spare piece of ribbon to determine the spacing between each one...it made it a tad easier. 

 6) Pin the layers together. Sew 1/4" seam around the edge, leaving an opening to flip right side...you will probably have to leave a few pins in the ribbons and simply carefully sew the opening shut.
 7) Once you flip the right side through, pin the opening shut.


 8) Top stitch around the enter edge, then using 1st seam as your guide, sew around one more time. In the following picture you can sort of see that I have sewn around the edge twice.

This is a VERY easy project, I don't think it took more than 1 hour....
Facebook Comments Plugin Bloggerized by BloggerTricks.Biz
Blogging tips