Showing posts with label baby. Show all posts

Baby Delaney's Room {Our Home}


Delaney's room used to be her big brother Cole's room...he now shares a room with his big brother (I need to show you that still!) It also serves as our guest room, and my goal for this bedroom was to have it girly, without being TOO girly, and being something she can grow into without a major redo!

This room is filled with tons of projects and is now my favorite room in our house!

Welcome! 


This wreath was made by my friend and was put on our front door to announce Delaney's arrival. She orginally had a message written in chalk, but once I moved it inside, I used gold vinyl (cut with the Silhouette machine) to personalize. 


 The above picture is with the light on. I love the shadows this light fixture creates! 

{The light was purchased at Lowes on clearance for just under $50!!}


{A very full closet, it is so nice to have some pink and purple in our house!}

{her crib was painted with Miss Mustard Seeds Chalk Paint--Apron Strings and is the same crib used by her brothers who had used all of the edges to chew on...}

{this dog rocker was picked up at an awesome local marketplace, it reminds me of our dog Mason, and is holding our video monitor at the moment}

{a future play area}

{the dresser, updated with pink knobs, serves as a changing area}

{cute hangers I picked up at Gordmans display dresses I've made for Delaney, her hair bows, and random other things like her towel and tutu--that I also made but still haven't put on her!}

{The quilt made by her BeeMa}

{The quilt I made for her, the backing fabric is the color inspiration for the room; I also made the crib skirt and fitted sheet}


{Collage wall, put up last week when my mom was in town visiting}

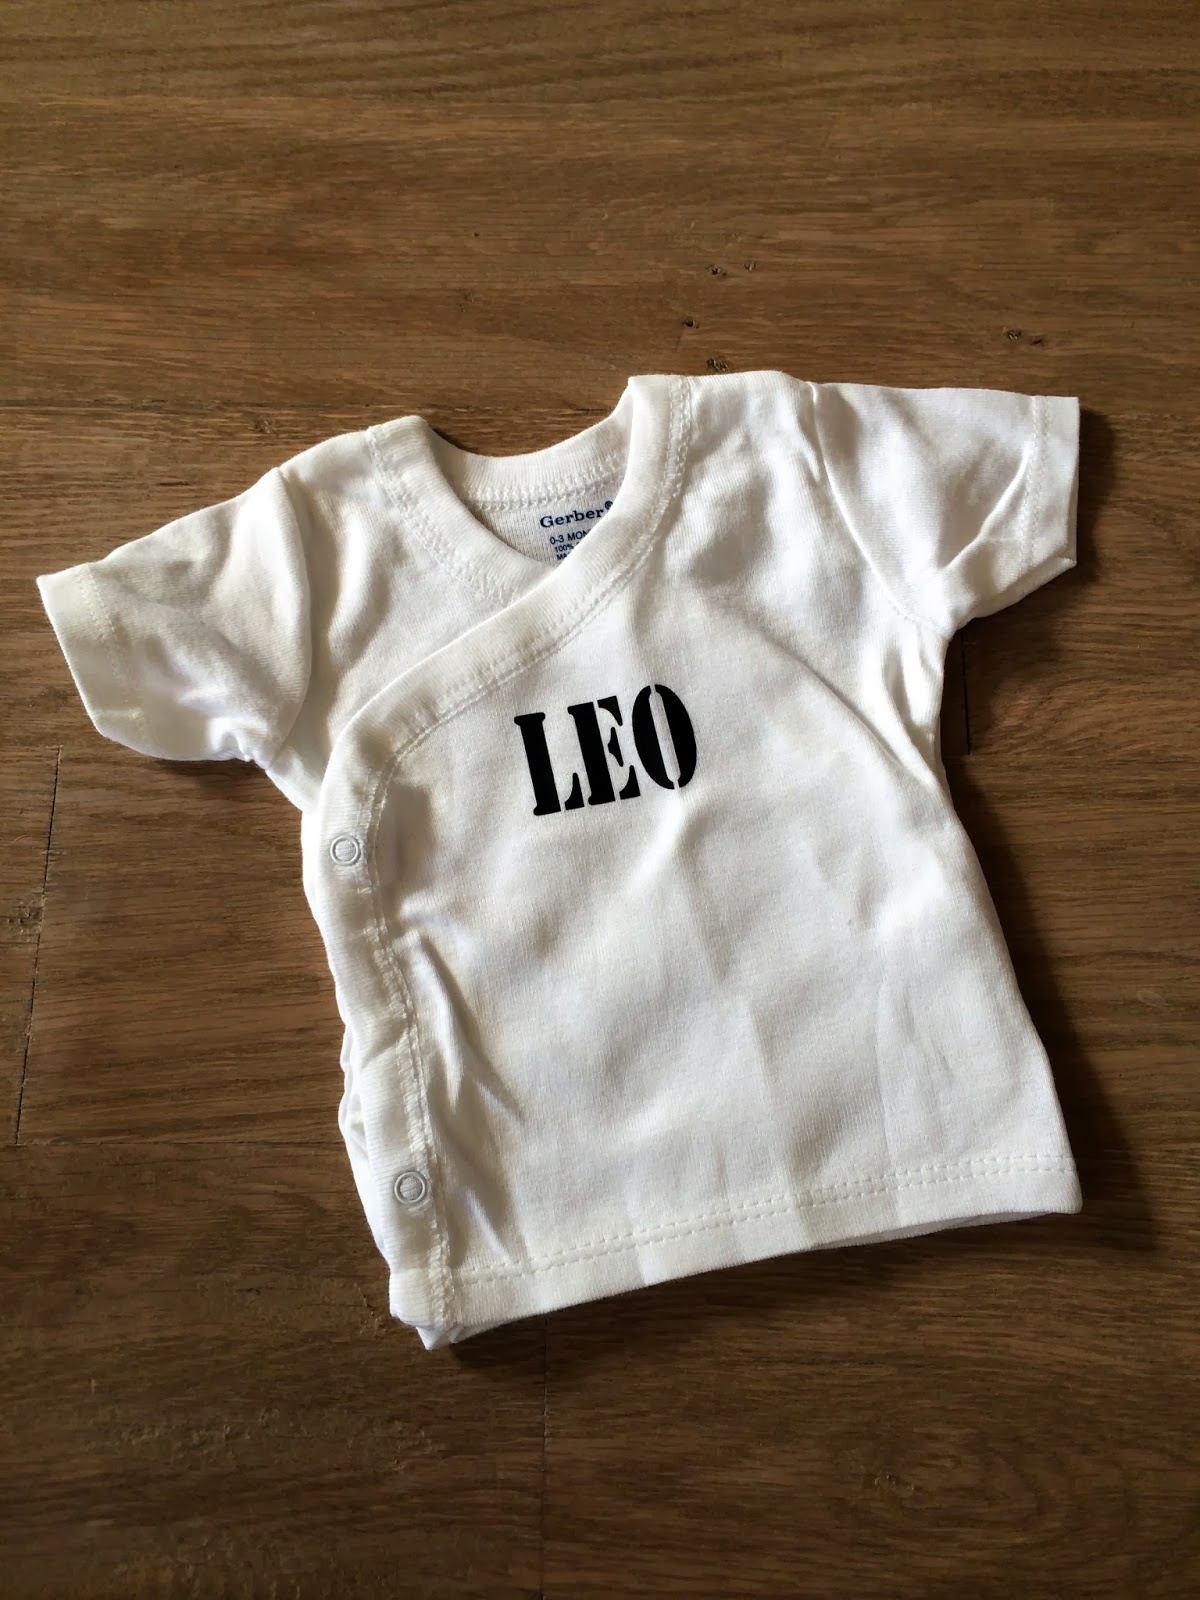
{her personalized onesie inside a shadowbox--frames are from IKEA or Hobby Lobby}


{Painting the scallop wall was a fun project from last summer, I used freezer paper ironed onto the wall to make the scallops. I also painted the heart canvas. Inspiration.}


{The guest bed headboard was made for under $50 by my husband and I, and the quilt was made with the help of my mother in law.}

{This rack holds socks, hats, and tights...and you can see the changing pad cover I made peaking out.}

{my assistant}


Aren't you ready to come visit??
Facebook Comments Plugin Bloggerized by BloggerTricks.Biz

HI FRIENDS!

So it looks like I took a fairly substantial hiatus from the blog for a while...sorry.

About a year ago I discovered that I was pregnant for the third time...unfortunately this time, pregnancy REALLY knocked me on my butt. Aside from the exhaustion, I also had fairly regular nausea the entire first trimester. By the time the second trimester rolled around, and I was able to peel myself off the sofa, I had lot of catching up to do. PLUS, we discovered we were having our first daughter! Delaney was born November 22nd. She is by far my most dramatic baby, but she really has been the most amazing blessing and we can't imagine our life without her!

I have SO MANY projects to share with you, because I was busy and I was being creative, but I just wasn't really good about sharing it here.

In the meantime while I go back through all my pictures so I can share what I've done, I'll instead just share the wonderful video put together by our birth photographer. If you are still in the season of your life where you are having babies, I strongly encourage you to have a birth photographer. Ours also happens to be a doula...it was like striking GOLD! She was fantastic, like a long lost best friend that needed to be there! So take a few minutes and enjoy the video, and I'll try to be back soon to share all of the projects I've completed!

xo
Facebook Comments Plugin Bloggerized by BloggerTricks.Biz

I'm baaaaack...

But I'm not sure how long I'll be staying...I fell off the planet to grow a(nother)
baby.


And to further add to our shock, it ends up this time around we will be having a baby girl.

So, while I've been taking it easy and resting this past spring and summer, I have only been minimally crafty. I've done a few projects, some baby quilts, so I definitely have things to share, but it's been nice to take it easy and to just make things without feeling like I need to worry about pictures or blog posts.

Little Miss should be joining us right before Thanksgiving...and hopefully I'll pop in here and there to share some of the things I've been whipping up.

Facebook Comments Plugin Bloggerized by BloggerTricks.Biz

Crossfit Baby {DIY}

Yesterday, I shared a special crossfit onesie I made for a friend. She asked me to make another one using a different picture. Isn't that cool??


I made these both using iron on vinyl cut with my Silhouette machine + the Silhouette software. 

Facebook Comments Plugin Bloggerized by BloggerTricks.Biz

Crossfit Baby {Custom Order Baby Gift}

I love using my creativity. One of my favorite ways to be creative is to make baby gifts. 

For this particular project, one of my college besties asked me to make a special gift for a friend from her Crossfit gym. She wanted something that could be used in the baby's room and a few things for the baby to wear...after conferring about possible ideas, I ended up making a fabric basket (using the pattern from Noodlehead--seriously, it's a fantastic pattern!) as well as a few other things: 


A mustache stroller blanket: 


This adorable felt kettlebell teether:
 (to construct sew a six section ball and a handle-two "C" shapes sewn together on the long sides, then turned inside out, and stuffed with fiberfill sew three of the ball sections together at a time, and before sewing the ball closed, put the handle inside ball, and sew, leaving a small section to flip the ball through and hand stitch the opening closed.)


Plus a bib and some onesies with some Crossfit phrases:


And this one is actually the coach/owner of the gym lifting!! {Cool, huh?}


Pretty neat seeing the original image next to the outlined/traced image!!


 If you are looking for a unique baby gift, I enjoy working on custom projects. Send me an email {daniellebartran AT gmail.com} and I can help you create something special!


Facebook Comments Plugin Bloggerized by BloggerTricks.Biz

Quick + Easy Newborn Baby Gift

Right as we were about to move, one of my friends gave birth to a baby girl a few weeks early. Having limited resources, I whipped up a quick personalized onesie, with cute ruffled pants: 
The lettering was made with iron-on transfer cut with my Silhouette machine. I think the shirt is from a previous season at Target. A-D-O-R-A-B-L-E or what?
Facebook Comments Plugin Bloggerized by BloggerTricks.Biz

More Quick + Easy Baby Gift Ideas

I've got a ton of projects I've been meaning to share. One of my favorites is this outfit I put together for my longtime friend's new baby, Julia. {You'll see I pulled together a variety of items, but we'll start here.} 


Julia ended up giving her mom a run for the money, flipping up and down, and every which way up until the day she was born. I dubbed her the party girl, since she was moving around like popcorn in her mom's belly....as soon as I saw these pants I knew they were perfect for Julia...the party girl. 

Once they were certain of the name. I went crazy personalizing whatever I could get my hands on. 

The iron on's are probably the easiest item...formatted on the computer, cut with the Silhouette machine, and ironed on. {EASY!}

Here's what it looks like before it's ironed on: 


And here it is after being ironed on: 


 Cute, right?

Facebook Comments Plugin Bloggerized by BloggerTricks.Biz

Playing Catch Up: The Loopy Lovie {sewing}

My little guy is going to be two this May, but two things I know he's not easily going to part with are his pappy {pacifier} and his lovey...the original lovey is I think a hand-me-down from baby gifts my firstborn was given...and my little guy LOVES his lovey...but particularly the corners of the lovey that have little satin loops.

While I was cleaning my house, I came across a lovey I had made a long, long time ago, but had never given to either of my kids. I decided to cut it apart and start fresh. I had already personalized it with a "C" and trimmed it down to make it a 12" square.


After going through my ribbon collection, I had a substantial pile of 4" sections...perfect for this lovey.

This was a really simple project and thankfully, my little guy loves it enough that I catch him with multiple ribbons around his fingers....and enough that he'll even let me wash his #1 lovey and use this one instead. {SCORE!}


Facebook Comments Plugin Bloggerized by BloggerTricks.Biz

Baby Decor Using Embroidery Hoops {Tutorial}

When I made my longtime friend the Ruffle Quilt, I also promised her some matching wall decor. I'd seen an idea {most likely on Pinterest?} using embroidery hoops and fabric. 


This was really simple and I think really adorable. I can't wait to see pictures of these hanging in the baby's room. 


How to:

To begin, decide a rough layout using the unfinished wooden embroidery hoops. I ordered mine from CreateForLess.com in a variety of sizes as small as 2" and as large as 14" and one 5"x9" oval.


Once I had a general layout, I removed the outer loops and painted the top + outside rim {in this case I used pink Martha Stewart paint.}

Leaving the paint to dry, I used the inner hoops to determine which fabrics would be used in the different hoops. I also figured out which hoop was going to have embellishment (ruffles, button flowers, etc) before gluing down the fabric. 


After I had decided the fabric for each hoop AND making sure the paint was dry on the outer hoops, I embellished, then used pinking shears to trim off the excess fabric, leaving about 1" extra on the back side. I used my glue gun (on low temp if yours has the option) to glue down the entire edge of the extra fabric towards the backside on the inner wooden hoop. 

I made sure to finish one hoop at a time to keep my fabric/hoops from getting mixed up.

Overall this was a really easy, quick project. And cute too.
Facebook Comments Plugin Bloggerized by BloggerTricks.Biz

Ruffle Quilt {Baby Girl}

One of my oldest friends is expecting her second child, a baby girl. I was so thrilled for her being that between us we have three boys...I was ecstatic when she asked me to help her pull together some bedding for her new little one.

Here's some of what I made for her:


And now for the unveiling: 


We started by narrowing down fabric. She ended up falling in love with the Willow line, My Mind's Eye for Riley Blake Designs. All of the fabric is a beautiful blend of pink, grey, and white. {Yes, please!} Aside from the Riley Blake Willow prints, we also used a solid Riley Blake in cotton candy, Pat Bravo's Oval Elements in Cotton Candy and Michael Miller's Dandy Damask in Bloom. All fabric was ordered from fabric.com or hawthorne threads. 


Here's a quick iPhone picture of all of the goods: the ruffled quilt (pre-binding), both fitted crib sheets, and the changing pad cover. The pillow cover is the only other item not pictured.


The pillow was the last item I made in the lot. I only knew the dimensions of her pillow form (the pillow that is inside the cover in these pictures is entirely too large and completely jammed into the cover!)

The pillow is reversible. It is quilted using scraps of fabric on one side, and a simple envelope enclosure with ribbon closures on the other:


 I made two fitted crib sheets (sorry for all the other "stuff" pictured):

I used pink polka dot fabric & the other sheet is pink medallions (also used in the quilt & the quilt backing.) I was certain to use extra elastic, so it was easy to put the sheets on, but tight enough to stay on the mattress. Changing crib sheets is hard enough, it stinks to have to fight with elastic that is too small!


Sheets are extremely easy to make. I used Prudent Baby's Fitted Crib Sheet Tutorial. 

I made a simple changing pad cover using pink fleece & damask. Again, I used prudent baby's tutorial. I also added a few rosette flowers, they are just pinned on and can be removed for inevitable washing.

 (sorry for the funny lighting/iPhone picture) but isn't it so cute?

And the final item, which is my new favorite quilt, is the ruffle quilt:


Simple as can be, the ruffle quilt is only 5 ruffles the length of the quilt. The ruffles are sewn onto solid white fabric, and bound with solid white binding. I would never in a million years have thought to bind a quilt in white, but my mother in law made the suggestion and it completely made sense. I love the way it finishes the quilt. It is seriously the sweetest thing ever! Right?!

Facebook Comments Plugin Bloggerized by BloggerTricks.Biz
Blogging tips