Showing posts with label sewing. Show all posts

Crossfit Baby {Custom Order Baby Gift}

I love using my creativity. One of my favorite ways to be creative is to make baby gifts. 

For this particular project, one of my college besties asked me to make a special gift for a friend from her Crossfit gym. She wanted something that could be used in the baby's room and a few things for the baby to wear...after conferring about possible ideas, I ended up making a fabric basket (using the pattern from Noodlehead--seriously, it's a fantastic pattern!) as well as a few other things: 


A mustache stroller blanket: 


This adorable felt kettlebell teether:
 (to construct sew a six section ball and a handle-two "C" shapes sewn together on the long sides, then turned inside out, and stuffed with fiberfill sew three of the ball sections together at a time, and before sewing the ball closed, put the handle inside ball, and sew, leaving a small section to flip the ball through and hand stitch the opening closed.)


Plus a bib and some onesies with some Crossfit phrases:


And this one is actually the coach/owner of the gym lifting!! {Cool, huh?}


Pretty neat seeing the original image next to the outlined/traced image!!


 If you are looking for a unique baby gift, I enjoy working on custom projects. Send me an email {daniellebartran AT gmail.com} and I can help you create something special!


Facebook Comments Plugin Bloggerized by BloggerTricks.Biz

Quilted Family Photo Pillow {Sewing}

{If you happen to be my mother in law, avert your eyes, it's likely you may receive this as a gift...}

Earlier this week, my mom celebrated her birthday. Her birthday falls in the beginning of the month and sometimes it sneaks up on me...{I'll just go ahead and blame February for being such a short month!}

This year, about three days before her birthday, I realized I needed to get my act together and send her something special. 

I'd seen this beautiful quilted pillow, and remembered this other beautiful pillow both from Polka Dot Chair, and decided to morph the two pillows into one.


The instructions I used were from the Patchwork Quilted Pillows tutorial, the only difference is that I did not cut the 4 1/2" square prints. Instead I substituted a photo I printed out on printable fabric. I trimmed the fabric down to 9.5" square, but then decided to add a small border. (I had first started with a rectangular photo, and decided it looked funny so I added the small border all around. I think I cut a 1" strip and sewed that around the edges of the photo that was cut to 9"?) 

The printable fabric I used can be found here

Here is the front before I added the quilting. 


To quilt, I simply stitched in the ditch along the photo, along the picture border, and then again along all of the triangles. I then used those lines as guides and used my presser foot as my guide so the stitching is fairly close together.


Using the instructions, I sewed a zipper, and printed a special message to my Mom on the printable fabric, and then used Heat 'n Bond Ultra to iron on that fabric.


And the final part of this project is that I ordered a pillow insert and had it mailed directly to my mom!
Facebook Comments Plugin Bloggerized by BloggerTricks.Biz

Sewing Table {DIY}


On a whim, a few weeks ago, I decided I needed to build a new sewing table.


I think I've lived in my house long enough to live in it as it was unpacked, but now I'm seeing where I'd like the changes to happen. This was one of those areas...

I had three sewing machines, all on different surfaces. It was was NOT working. {First world problems!?} It was challenging to find a place to quilt, especially because my dining room table was taken by the moving company to repair damage from our last move and they had it for two months. 

My husband had to go out of town for work and we had some unseasonably warm weather...perfect for building a new table! 

After doing some research, I ended up deciding to construct the Narrow Farmhouse Table by Ana White. It only took a few hours to build...I used my kreg jig + some hidden screws, but it definitely could be constructed other ways. I made my table 1' shorter and my 1x8 boards on the top only measured 7.25" wide, so the table was 29" wide, the height of the table was not changed.

It was unbelievable how quickly this table came together. I dropped by son off at Pre-School at 1pm, headed directly to Lowes, picked up the materials + had some of the wood cut to size (so it would fit inside my Prius!) and was on my way home by 1:40pm. By the time I had to pick up my son at 3:45pm, I had the entire lower portion of the table cut, sanded, and constructed. I put my tools away and worked for maybe an hour assembling the table top supports. I called it a night and the following 
day I constructed the table top, and joined it to the base.

Did I mention it only cost $90, including stain + screws, which I have a TON leftover!

Here is my assistant showing our handy work of just two days!!!


And after some staining on the 3rd day, I was seriously in shock how quickly this table came together. {I can't imagine buying a table ever again knowing how cheap and easy it was to build this!}


Here is the table immediately after my husband and I brought it into the house:

**I should warn you, be certain to wipe the excess stain off the bottom of the table legs {womp-wah!} AND GooGone takes off wet stain from hardwood floors! 

Now, all three sewing machines can fit on one table. While quilting, I can easily store the other machines underneath the table. I would still like to do something with these wires, possibly mount the power strip under the table...


And here is a terrible iPhone picture, but you can at least see the entire table. 

Hard to believe this only took three afternoons to make and for only $90!
Facebook Comments Plugin Bloggerized by BloggerTricks.Biz

Sewing Room {Organization}

I'm extremely lucky to have a designated sewing/craft area. In general, I'm very messy when it comes to crafts because I hate to clean as I go. Any organization in my sewing room was the way I unpacked the boxes when we moved into the house last May...and things needed some changing.

When I decided to start fresh, the room basically looked like this. {For full disclosure, at this point I had already started to move things around and start stacking and rearranging...}


One thing that I think always needs attention when you work on a room is wires. In general: I HATE WIRES. 

When I started organizing and cleaning in here, the first thing I did was start in a corner, and find a container that would fit everything. This corner happens to be the home of all the wires that come into our house for a modem/router. My sweet friend had given make a gift in this fun basket...now it is the home of all our wires/router and modem!


I love those tiny little electrical zip ties.


I also love shoe organizers. Particularly clear ones {from Walmart} like this:


They aren't just for shoes! I also have a shoe organizer in my pantry, in my son's room and in my hall closet!

I picked up some plastic bins {at Dollar Tree} and created a mailing station for when I send out packages. I hate not having what I need when I need it. Now everything is all together. I love being able to print mailing labels on the Postal Service website, because I hate waiting in long lines at the post office with two children!


I also picked up two additional three-drawer plastic rolling carts. Now all my yarn + knitting supplies have a home...when I'm organizing I like to find a home for all "like" items. So all of my twine is on the top of the hanging shoe organizer, all of the shipping supplies are in the red stacking bins. All of the interfacing and odd sewing items are in the rolling cart on the bottom right. The only thing you cannot see in this picture is that I added labels. Because I hate searching for things. Labels are perfect little reminders of what "like" items are together...no need for searching!


Here are the bins with labels. I also keep baby gifts on hand in plastic bins. I try to keep these very accessible so that I actually give away these items!!


This desk was my Dad's as a child. I now store a paper cutter and cutting supplies here. {My old Silhouette machine is also living in that box on the ground, if you know anyone looking for a used Silhouette machine?!}


The black plastic bin is items I plan on selling at a tag sale...or donating to charity if I never pull the tag sale together.


These black shelves are under $40 each at Target. They are NOT pieces of furniture that hold up well when moving. The one on the left actually separated in the middle and I may replace.


I store all of my fabric on these bins. Plus the craft items I like having easy access to.

I added an additional short shelf and moved the tv into the corner nearest my sewing machines. Now I can easily watch TV and sew. Win!

I keep needles, thread, cutting rules, etc all right there on the floating shelves for easy access while I sew.


And next time I'll show you the new sewing table that I made to fit under the window...so all my sewing machines can live in one place!

Facebook Comments Plugin Bloggerized by BloggerTricks.Biz

DIY Infinity Scarf {DIY + Sewing}

Although Christmas seems like an eternity ago, here is a really quick project that I made for my son's teacher for Christmas: an infinity scarf.

I did not have enough of the bird fabric, so I had to line the interior with a white/grey fabric. 


To make this, I pieced together two strips of both (lining + exterior) fabrics (you can see the seam in the lower picture) to make 58" long strips, I cut both 10" wide. Sew with right sides together, then sew the the ends together carefully leaving an opening to flip the scarf through and hand sew the seam shut. 

This was an extremely easy project and it took almost NO time! I really want to make one for myself!  I used this tutorial from Shrimp Salad Circus for how to construct an infinity scarf. 
Facebook Comments Plugin Bloggerized by BloggerTricks.Biz

T-Shirt Quilt {Graduation Gift}

My baby cousin Kimberly graduated from High School back in June. I remember when she was born, so it's hard to believe that she's already in college. I always feel like I'm in a huge time warp! 

Although my family has moved around quite a bit the last few years, it seems like every chance we get we link up with extended family, and thankfully Kim is an accomplished soccer goalie, every time her team played nearby, we'd try to watch her play...She has played on many, many teams...knowing all of that...I offered to sew Kim a quilt using her jerseys as her graduation gift. She accepted and before starting her freshman year of college, she mailed me a huge box of her jerseys. This is what I created: 


And here she is with her quilt: 


She is seriously the cutest, sweetest thing...she's turned into a lovely young woman, with a kind + loving heart. And she's a rock star goalie! I hope she loves this quilt until it's filled with holes and is a sad little bunch of threads...in my opinion, that's the sign of a really good quilt....

For some reason, I always anticipate making a t-shirt quilt will be an extreme challenge, but in the end I actually really loved working on this project. 

So, I'm sorry for the all of the pictures, but here is how I made a t-shirt quilt: 

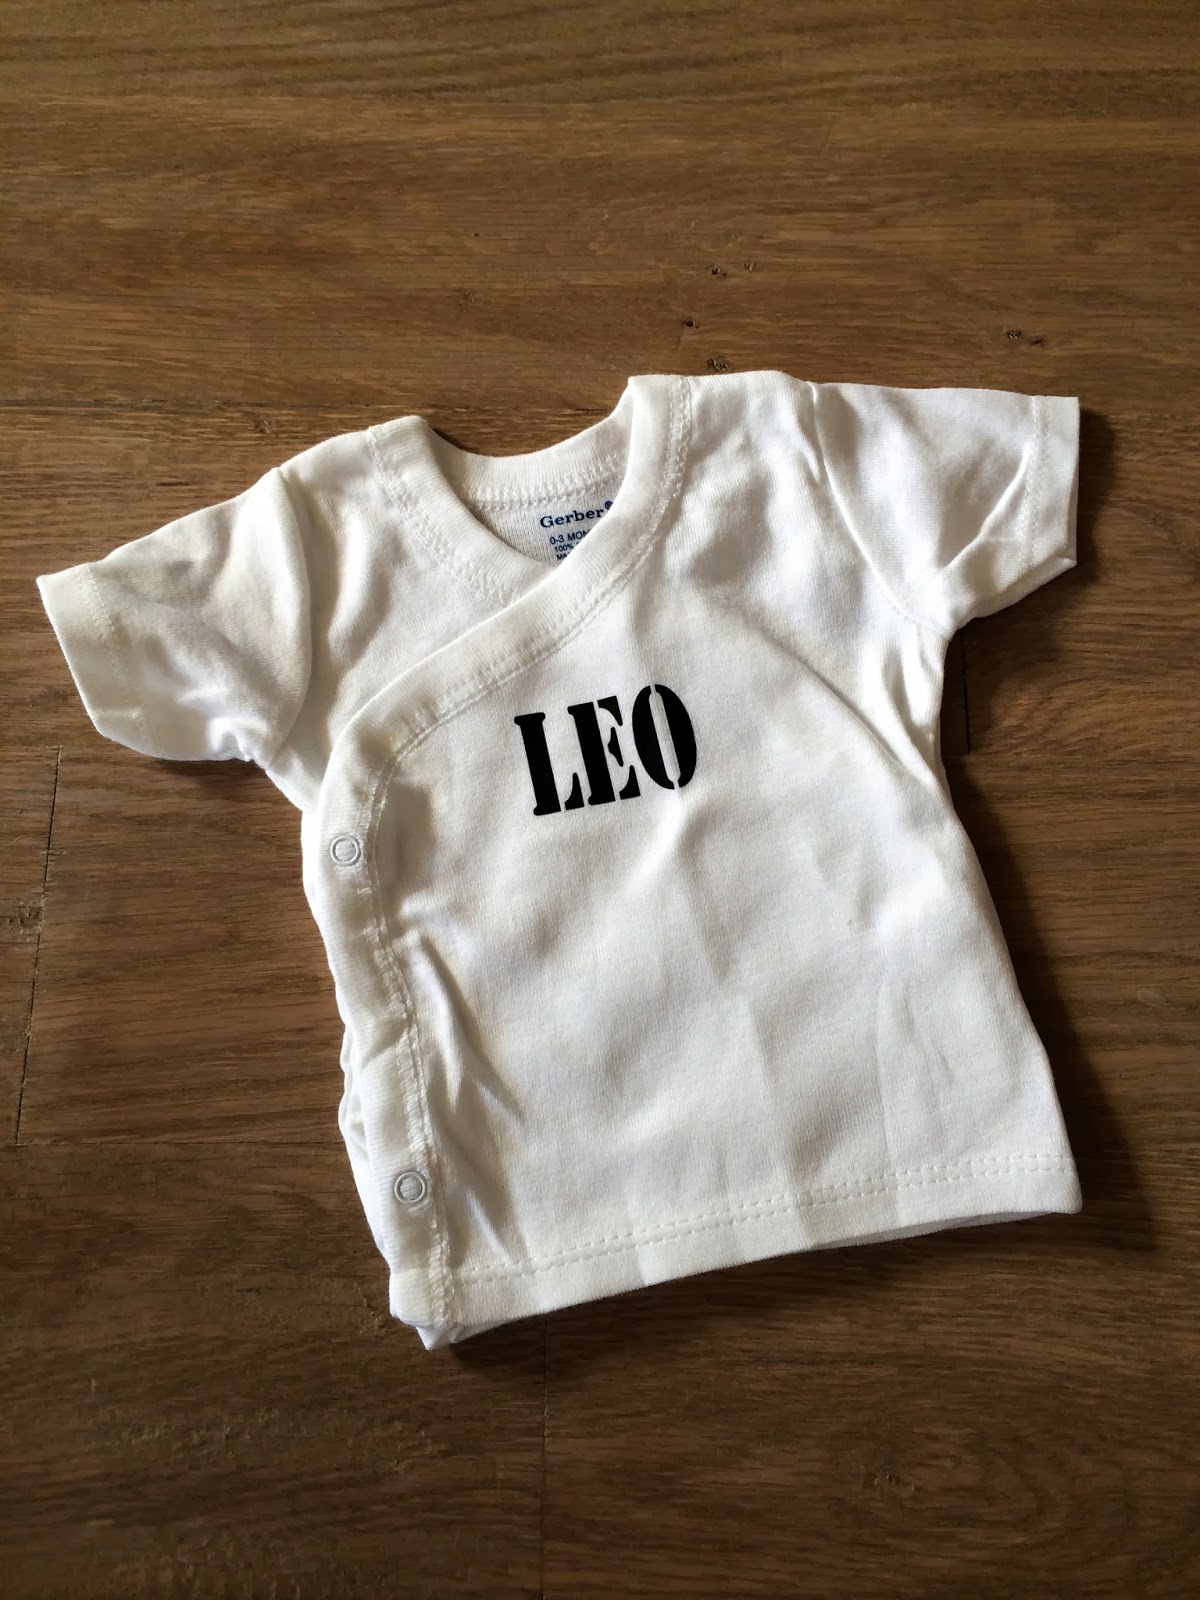
Start with a stack of t-shirts. 

Going one shirt at a time, use scissors to trim the sides of the shirt up to the armpits:


Cut the bottom of the sleeves open, to the armpits. Push the opposite side of the shirt toward the neckline, so that only one side of the shirt remains on the cutting mat.


Using a rotary cutter and quilting ruler (on a self healing mat) carefully align the ruler and trim the jersey.


This quilt was made with 12.5" square blocks, but any size block should work, depending on the pattern selected. 


Once the block has been cut from the shirt, this is what is left: 


T-shirts are made from cotton jersey, an extremely stretchy fabric. One of the most important part of quilting is having blocks that are consistent size. It is necessary to use iron-on, fusible interfacing, cut to the same size (12.5" square) to backside of each quilt block. {Follow the directions of the interfacing, I believe I used Pellon light-weight iron-on interfacing.}


Here is the interfacing ironed on to the jersey. Notice that little corner isn't floppy?! Yay, interfacing!


Once all of the jerseys have been cut, and interfacing applied, I determined I needed additional blocks/fillers. For the first time, I used iron-on printable on black jersey blocks to create additional blocks. I also used iron-on vinyl from my Silhouette machine to write a special message. {These pictures are after the quilt was finished:}


Here is a graduation picture: 


I used a variety of family photos as well as special quotes:


Once I had enough blocks, I determined my layout. I decided rather than sewing even rows, I would bump the 2nd + 4th columns using 6.25" blocks. The smaller blocks were cut to 6.5" and sewed into 12.5" blocks (using 1/4" seams) and put into the center "heart" of the quilt. 


I mixed and matched the layout, trying to avoid having similar colors too close. In the end, I liked having the jersey numbers on the outer columns, in numerical order. 


Once I was happy with the final layout, each column (from top to bottom) was sewed together (using 1/4" seams.) I ironed the 1st, 3rd, and 5th columns towards the top; and the 2nd + 4th columns towards the bottom. That helped when sewing the columns together. Once all of the blocks in the column are sewn together, sew the columns together (1st + 2nds together, then 4th + 5th together then 2nd to 3rd and 3rd to 4th.)

My finalized quilt was large and required the backing fabric to be pieced together. Then create a quilt sandwich (quilt backing, wrong side facing up, followed by batting, and then the quilt top) pin together all three layers with safety pins, being certain no folds, wrinkles, or creases are in any of the layers. Quilt the layers together, being careful to avoid sewing over any safety pins.


Finish the quilt by sewing on a quilting cotton (non-jersey) bias binding.

The quilt backing I chose was a flannel plaid, sort of 70s. Fabulous like a stadium blanket. Cozy. Soft. The pattern I chose included the color of her new college team, as well as many of the colors from the teams of her past. I really love the backing!

And a final tid-bit of the quilt, I always have little helpers nearby. It makes every project take a little longer. Dinner get started a little later. And of course, I let them play with the pins and the magnetic holder. Here is my little guy coloring while I was quilting:


But, somehow projects do get finished, sometimes while I share a chair with my little guy. Oh well.


Have you ever made a t-shirt quilt? Isn't it a great way of using old t-shirts?
Facebook Comments Plugin Bloggerized by BloggerTricks.Biz
Blogging tips