Showing posts with label halloween. Show all posts

DIY Halloween Costumes

If you know my Mom, you know that the apple doesn't fall far from the tree. If there is a project, she's pretty much always figuring out how to make it happen. I remember her throwing me extremely creative birthday parties as a child, and always making my Halloween costumes. I'm sure my memory may be wrong, but I do put a certain amount of pressure that I should make costumes. (PS, this year I'm probably going to buy them...)

But when my son Cole started saying he wanted to be an "Excavator" for Halloween, I knew I was pretty much going to have to make it. So, in 2013, that's what I did...to my surprise, once his brother saw the costume, HE wanted to be a crane. So I made TWO costumes. 

The following year, they both insisted on wearing the same costumes, so 37 weeks pregnant, I decided to "hit the easy button" and pulled the Crane and Scooper out of the attic. I did do some minor glue updates, but for the most part they were in great shape. 

In the spirit of sharing, I feel bad having posted about both 2013 and 2015, so here's the second go of the Crane and Scooper: 


Not bad, right?!
Facebook Comments Plugin Bloggerized by BloggerTricks.Biz

When Life Happens {Halloween}

Life has been insane. Not just crazy. INSANE. And I could probably go on and on and list a million things to complain about, I'll spare you. We've all got plenty of stuff...it's just meant that keeping up with getting things done AND writing about it on a blog has been a very low priority. But I'm really hoping to share more--there have been a bunch of things that have happened that I want to share...so I do hope I'll be better (but won't hold my breath, because I've been wanting to share more for easily two years!)

Anyway, I was recently contacted by the creator of Make-Do because apparently Pinterest is linking to my blog, and my blog post from Halloween of 2013 links back to Make Do...so I started thinking about my construction Halloween costumes and realized I never shared my costumes from LAST year. In 2014, I was 9 months pregnant and my boys decided to wear their crane + excavator costumes a SECOND time. I wasn't going to fight them...

So last year, I had an almost one year old on the verge of walking...the perfect time for some projects...

When I started looking back at my pictures, I came across these pictures from last year and realized I had never shared them here.

My crew:


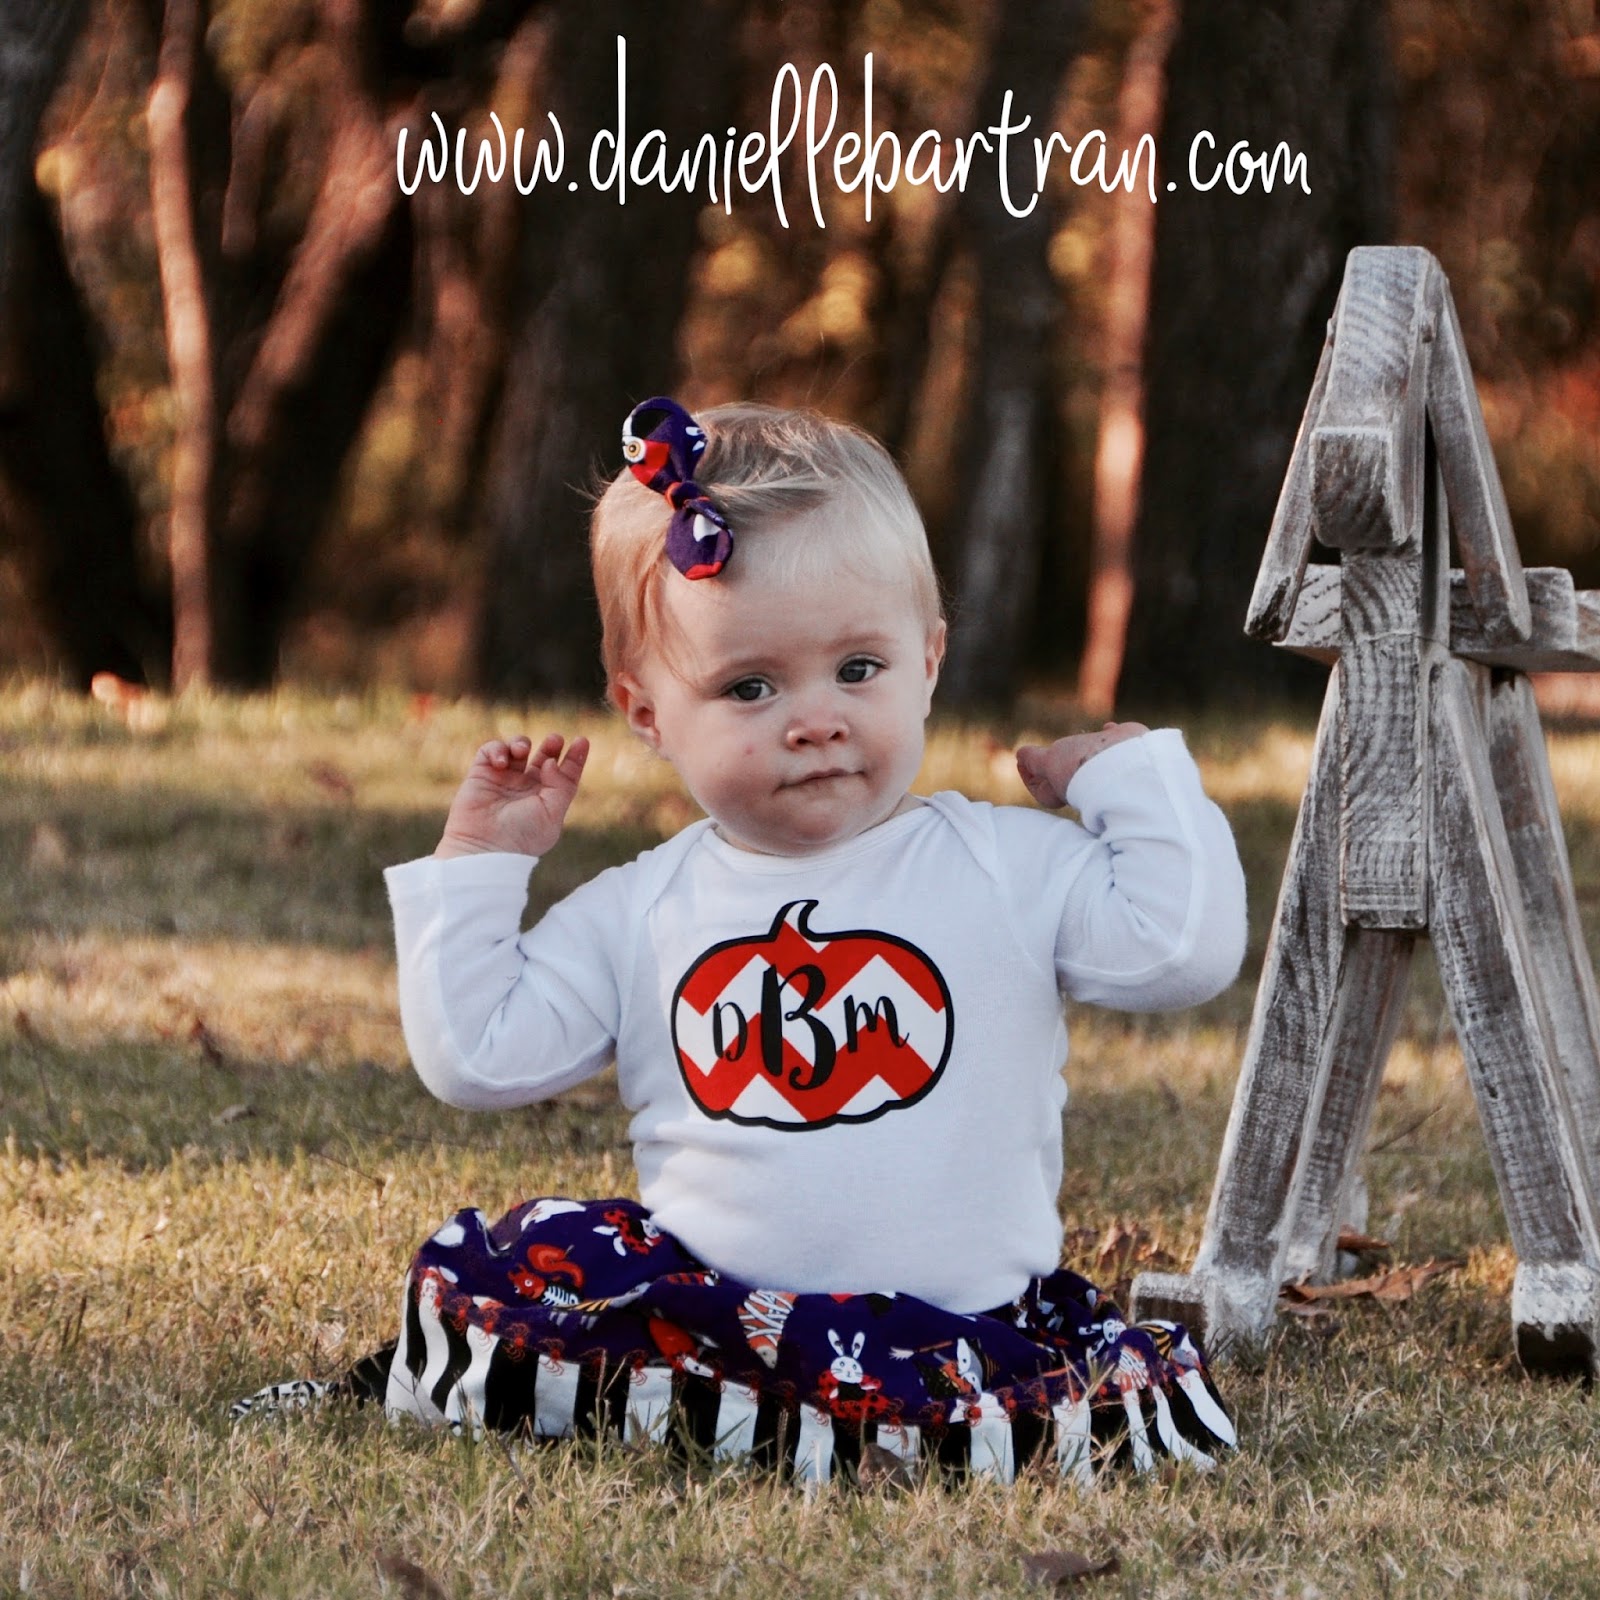
Here is a Halloween outfit (skirt and appliquéd shirt + hair bow) that I made, it's the cutest, now I have to look and see if that skirt might still fit! (fingers crossed!)


A year later, holy moly--the sass of this child. It's so much worse now that she can climb, and knows what she wants. She is INTENSE. I think this is the hardest season of my life...and she's not even a teenager yet!

Onto the Halloween costumes: 


My boys have been OBSESSED with farming--it's a little ironic because we live in Oklahoma, but we live in the suburbs...we end up going to NY to get to the country!  So because of the farming obsession, we decided to go with it--the boys were farmers, my husband even agreed to put on a plaid shirt and work boots...I made all of the boys matching "Bartran Family Farm" hats. I was a cow. After breastfeeding three children, I certainly feel like it! And Delaney was a baby chick, we used some flannel to make her stroller into a barn.

The kicker, I spent so much time on all of these projects--my children did ONE street, and barely trick or treated for an hour!


Cow:
-headband with with white flannel ears, pink inners, with little beige horns
-white shirt, black fleece pieces cut irregularly glued onto the shirt, pink belly with ACTUAL bottle nipples--I used hot glue but it was REALLY hard to get them to stay on, so I'd do a little more research and try stronger glue!


Chick: 
-used white felt, cut into feather shapes 3-4" long, hot glue in rows from the belly up, and on the arms
-cut an old-t-shirt into 3" strip, used red felt to create headpiece, I sewed the seam together. 
-hot glue orange construction paper onto pacifier. Surprisingly she did not mind--but the hot glue NEVER came off the pacifier!


Stroller cover Barn:
I used pieces of felt, I cut a lower section that I tied onto the stroller with 1" wide pieces of felt that I cut--adding ties with hot glue. Then I cut a middle section, again tied that onto the front piece of the stroller, THEN I added a larger back piece--I put the baby in the stroller with the red barn behind her.

The white felt was glued on with hot glue, square first, then added the X; the same behind the baby on the back piece. I used iron on vinyl to add a sign "the Bartran Family Farm" and glued that onto the middle section. And I added a "roof" upside down V along the top part of the stroller. 


Farmer:
-Used jeans, plaid shirt, vest we already had
-Cut cardboard box into rectangle, added a shorter piece for the top, added cardboard cut into circles; hot glue, I think the exhaust pipe was a toilet paper roll. I used twine, knotted onto grommets (not necessary but I had the grommets) to from the two front corners into one grommet in the back like a v. I glued push to turn on closet lights--the kids LOVED this feature! We added a golf ball covered in tin foil as the tow hitch.


Please feel free to email me if you have questions about how to make these costumes. They are pretty simple, cardboard, paint and TONS of hot glue!

I'm generally pretty busy and do not plan on making these for sale (but hey if you are interested shoot me an email, I'll answer honestly if I don't think I'll have time!)
Facebook Comments Plugin Bloggerized by BloggerTricks.Biz

Happy Hallween + Construction Equipment Costume Tutorial {DIY}

Happy {day after} Halloween! I hope you have enjoyed a few sweet treats today! 


Confession: my sweet neighbor always gives us these amazing sugar cookies. I've gotten into the habit of eating ALL of them before my children/husband have a chance. I do sometimes have my husband taste (a bite!) so that I don't feel bad for not sharing. They are just so good. I need to get the recipe. Or actually maybe I don't...


Anyway, back to Halloween. 


My boys dressed as {super fancy, cardboard} a scooper/excavator + a crane. 

To preface: while I am crafty, I am not above buying Halloween costumes. Generally, buying a costume is much easier and, in the end, costs less once you factor in time + materials. But, I'm also a sucker for a cute face. My little guy is obsessed with any kind of construction equipment. In particular, this boy is in love with scoopers {excavators, for those of you not up on your construction lingo!} 


My little guy inspired the idea of a wearable scooper. I could find zero costumes to purchase, so I decided to start cutting some cardboard boxes to fit him. Keep scrolling to find out how I made this costume. 


Here is my big guy enjoying his crane costume.


I used a variety of rope/binder hooks/pulley's and even wanted to use a metal hook, but it ended up being too heavy. My big guy kept asking how to make the hook go up and down....needless to say, no dice. Next year he can engineer his own costume. 


The costume was slightly cumbersome, sometimes making it difficult to ring doorbells and occassionally turn around without hitting into someone else.


These boys absolutely loved Halloween. They had the greatest time and didn't want to stop trick or treating. 


Unfortunately, I did not take any pictures, please feel free to email me (danielle bartran at gmail.com) if you have any specific or urgent questions. I made the two costumes simultaneously, so the instructions are mixed in about how I constructed both vehicles. 

You will need: 
For crane costume:
  • 1" metal binder clips
  • metal pulley (Walmart)
  • hook (I originally purchased the only one I could find at Walmart, it ended up being too heavy so I made one quickly out of cardboard and painted it silver)
  • rope
  • round cardboard tube (like a paper towel roll)
Additional/Optional: 
  • construction hats (dollar tree) and construction vests (from Amazon)
The cardboard boxes were new/fresh unused boxes that I purchased at Walmart. I used two boxes per costume. I used a 6" wide x 18" long acrylic sewing ruler and penciled the design onto the cardboard based on a miniature toy scooper that is my son's favorite

The costume is held together with hot glue and special cardboard screws (and some of the pieces from the digger kit) from the {awesome!} company Make-Do. The box is held on the children's shoulders with duct tape. 

Once I drew the designs, and was happy with the overall appearance, I trimmed the cardboard using a box cutter/utility knife and the acrylic ruler. I measured how wide the children's backs are. I didn't want the costume to be too wide, but also didn't want the box to be to small for him to fit inside (for example, for a back that is 12" wide add 2" and construct the box to be 14" wide. I cut all of the main pieces first, then assembled the pieces before cutting the secondary pieces (the crane supports + the scooper tires and the actual scooper.) 

The arms of the scooper are made from multiple pieces using the cardboard screws. I then glued the main braces onto the box. I found it necessary to score pieces, which means you use the utility knife to cut halfway through (just gently across the surface without cutting all the way through.) 

For the straps, I measured the distance from the front of the box, over the shoulders and to the back of box. I then cut two pieces of tape to that exact measurement. THEN, I cut two pieces with an additional 8 inches. I centered the shorter tape on top of the longer tape. The excess 4" + 4" longer tape then sticks to the inside front + back of the box. 

I painted the single color parts with spray paint first and then with acrylic paint (the black was high gloss which I really liked!) The main boxes that had more than one color I only painted with acrylic paint. I also used google to find images for the logos, I printed them out onto card stock and glued them on strategically. 

The tires for the scooper are a small plate and a tea-cup plate. I actually trimmed along the edges with the utility knife directly on the cardboard. They were painted and then glued on at the last minute--I didn't want the tires to have to hold up the entire costume for an extended period of time. On the crane,  the "make-do" wheels were colored with a crayon, and then screwed onto the boxes. 

I did not attach the hook to the crane until the last minute because I was concerned about the weight of the hook on the supports. Ultimately the metal hook I purchased was too heavy, so I quickly cut one out of cardboard and spray painted it gray before attaching it to the rope. 

The downside {and extremely exhausting side} is that it was difficult {actually impossible} for my little guy to see his feet. That made walking almost unbearably slow...in the end we carried him most of the way, putting him down at each door step. 


Facebook Comments Plugin Bloggerized by BloggerTricks.Biz

Entryway Console Table {DIY}


I've been working on this project since seeing an awesome console on Pinterest. I'd been wanting to put something in the little nook by our front door since we moved in...this table is perfect:


The plans I used from sawdustgirl.com were really awesome. I did make my table base only about 12" wide. I also made the top differently; cutting the staggered scraps of 2x4 and 2x6" wood at a 45 degree angle, and using 1x2" around as trim.


Here is a better picture of the top. The top was definitely the most challenging parts of the project because I was using up scraps from our wood pile. It went together really easily until ONE piece of 2x6 was a little wide and caused the rest of the table not to line up. I ended up having to taking the top of the table apart and then join two pieces together (see in the top row, 3rd from the left!!) I used a mixture of kreg drill + screws, and nail gun, nailing the tips of the boards together. 


The stain color is Kona. I'll have to dig out pictures from the original stain--vinegar and steel wool. It looks like it had been attacked by a pumpkin. 

And here is the table decorated for Halloween: 


Oh, and while I'm at it, here's the flowers decorated for fall/Halloween: 


I previously shared my fall wreath. Here is the wreath decorated for Halloween: 


Just a lone spooky skeleton: 


Now we are ALL ready for Halloween. I mean, except for Halloween costumes! 
Facebook Comments Plugin Bloggerized by BloggerTricks.Biz
Blogging tips