Showing posts with label ideas. Show all posts

IDEA-An alternative for picture hanging


Yes, my husband's dresser REALLY did look like this (yesterday before we cleaned!) My husband set up our bedroom furniture before I had a chance to give it much say, and honestly, I was just sick of moving things on my own so it stayed the way he placed it. One thing I really struggle with is placing furniture at an angle in a room...I hate that there is lost space and everything doesn't--line up.

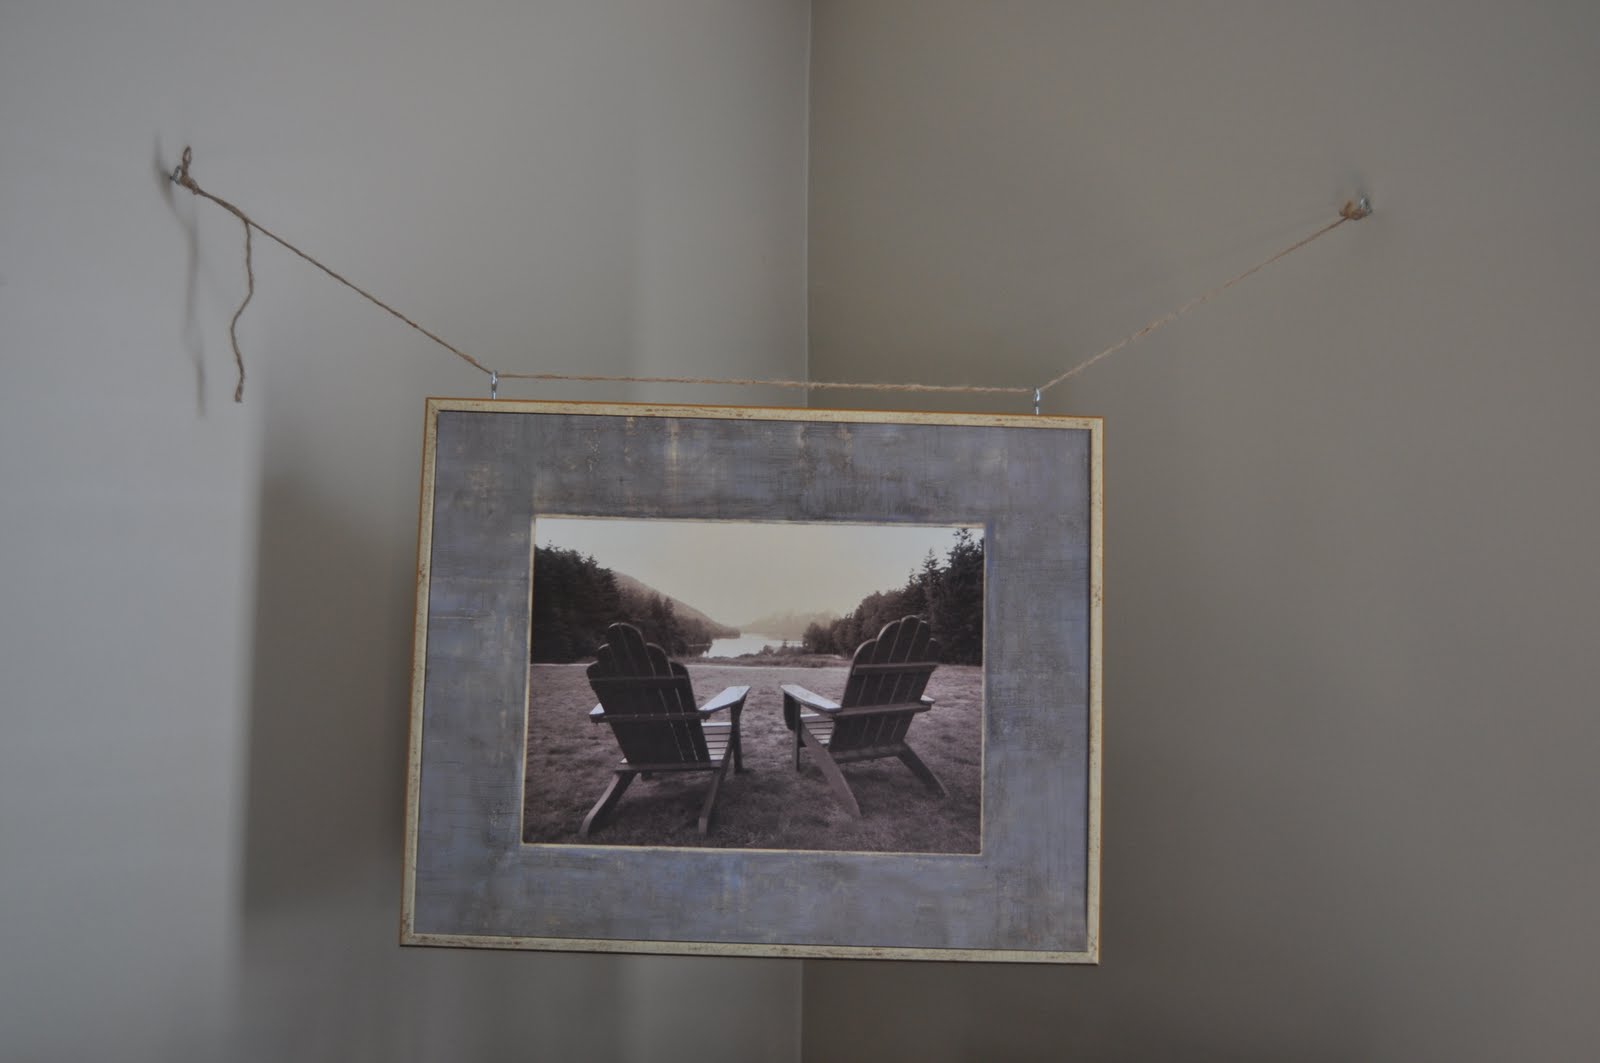
So knowing I had guests coming this weekend I was really wanting to have pictures hanging and to have our house look lived in and not in complete shambles...all of the sudden it dawned on me that I can hang a picture over his dresser at an angle using ROPE. After a quick trip to Lowes (my favorite store!) I used 4 bolts with round loop tops---I'm sure they have a real name-I don't know what it is, but you can imagine-and I attached twine with a noose, I was hoping my husband would come home and tie a proper knot, but when I asked he said mine weren't so bad-read:he didn't feel like it? Using a drill, I made 2 holes in the top of the frame, I figured even if this idea completely tanked, it would be hard to see the holes. I attached the two screws with the round opening in the top. I fed the twine through the round openings & tied my knots...and wa-la. 

I'd like to think this is a good alternative for picture hanging AND a good way of dealing with that lost space that happens when you have furniture placed at an angle in a corner. 

Facebook Comments Plugin Bloggerized by BloggerTricks.Biz

Gifts for Babies

I think there is nothing as wonderful as a new quilt for a new baby. Lately I've been all about PERSONALIZED items...because what's better than a new baby quilt but a new baby quilt with the baby's NAME on it! :) ...it's the little things in life, right?!

Well, my friend has received the package...in it she found: 

*A name banner (I know the wooden ones are all the rage, a la Pottery Barn) but this was literally SO easy to create. Simply print off the baby's name in a large font, have your printer reverse the type--possibly Iron On Transfer style--once you have the name printed in reverse, carefully cut out the letters. I used a circle cutter to cut one circle per letter-again-so easy! If you don't have a circle cutter, simply use a round object-a plate, bowl, the edge of a cd...-to trace around. Glue the backside of the letter onto the circle. I used mini-clothes pins (my new favorite!) and attached each letter/circle to an ironed a long piece of twine, so it would lay flat. If you don't have clothes pins, you could hole punch and tie your letters on too... 

*This quilt for baby Abigail. Again, very easy, this is my FAVORITE fabric (Mona by Alexander Henry-apparently it's old and not being produced any more-HUGE BUMMER!) I'm obsessed with it. I've had it for a while and when we were shocked to have a baby girl arrive, it seemed only fitting that this little peanut have my favorite fabric. I hate to admit, I actually started this quilt a while ago and used a fusible batting and it just didn't have a very uniform look, so I ripped out EVERY stitch...and those who know me will tell you...I HATE TAKING OUT STITCHES! I will do everything in my power to work through a mistake...but I will say, I am SO HAPPY that I redid this and started over (plus it gave me the chance to sew on Abigail's name!) I used orange rickrack to give it a playful, but not too girly appearance. I'm also trying to expand my quilting abilities and TRIED to quilt this in a stippled pattern. I think I still need practice, but think it came out pretty well. What do you think?


Facebook Comments Plugin Bloggerized by BloggerTricks.Biz
Blogging tips